Pages

Sunday, October 25, 2015

Jean Cacicedo Coat and DOL Recap


I spent last week in Ashland, Oregon, attending Design Outside the Lines and it was great!

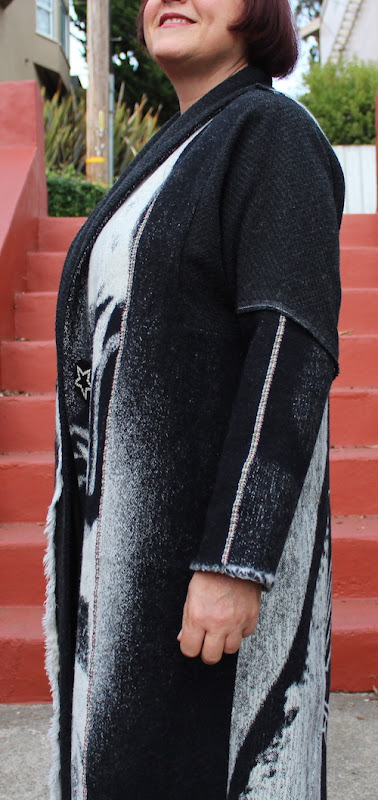
At the retreat I made this coat, the "Jean Cacicedo Coat". First, I'll talk about the coat, and then give a brief recap of Ashland DOL, Oct 2015.

TOC

Jean Cacicedo Coat

Diane Ericson is (very soon) releasing a new pattern in her Revisions line, called the Jean Cacicedo Coat. She made an early copy of the pattern available to interested DOL participants. (It's not yet on her site, so stay tuned.) You may recall that I purchased three remnants of double-sided wool when I visited the Mill End Store in Portland last spring.

Three remnants of double-sided wool coating.
Note that the cellist is wearing a black tux and playing a white cello. For my coat, I preferred the other side, where the cellist is wearing a white tux and playing a black cello. That makes my cellist left handed, but I'm left handed, so that is fine by me!

I wanted to use these in a coat, but I was not sure how to go about it. I brought them to DOL, sure that I would use them somehow. I was not sure which companion fabrics to include, so I filled the back of my van with many possibilities—lots of black and grey fabrics, and a few reds. Only one fabric worked—a charcoal grey textured wool with a pretty selvedge. It was a relief to use a fabric that I brought—I was about to give up and buy something from the fabric store across the street, when Carol Lee helped me look through them again.

I had also brought a tote bag full of coat patterns, just in case, but the second I saw the Jean Cacicedo pattern, that was it. Love at first sight.

If you are not familiar with Jean Cacicedo, she is a well known fiber artist. I took a "puzzle coat" class from her, back in the '80s when Marcy Tilton owned the Sewing Workshop in San Francisco. The Cacicedo coat features:

  • Set-in sleeve with a square armhole. Because the bottom of the armhole is low on the body, the sleeve creates a dolman effect, but it's a fairly raised dolman. (If you have a large bicep, you should probably check the fit of the sleeve.)
  • The sleeve tapers pleasingly at the wrist.
  • No center back or side seams—the body of the coat is one large pattern piece and forms a cylindrical shape. (Yay! It's not a swing coat!)
  • Shawl collar
  • Patch pockets
  • Appliqués
  • The coat is unlined, but it would not be hard to draft a lining.
  • Two lengths are provided
  • I did not do an FBA
  • I did not narrow the shoulder and I usually do! (The shoulder was in the perfect spot.)

The coat runs from XS to 3XL. I traced off an XL in the longer length. I omitted the patch pockets and appliqués, so only three pattern pieces were required: body, sleeve, and collar facing. Because I was collaging my coat, I needed a base fabric. When Diane made her version, she used Thinsulate batting as a base, but my coatings were heavy and I didn't want anything as beefy as Thinsulate. I didn't bring a suitable base fabric, so I ran across the street to the fabric store and bought 8 yards of sew-in Pellon interfacing. Pellon is not particularly wide—about 24"—I seamed it together to make a single piece of fabric large enough for the coat body.

Auditioning fabrics for the front of the coat

I made a few alterations:

  • 1/2" forward shoulder adjustment.
  • Generous dart at the bottom of the armhole where a side seam would be, if there were a side seam. Because of this, I took the sleeve in by an equivalent amount. (I removed about 4" total.)
  • Omitted the patch pockets. On the left side of the coat, two fabrics were joined in about the right location for a side seam, if there had been a side seam. I used this opportunity to insert a single-layer side pocket. I did not put a pocket on the right side of the coat.
  • The collar facing has a 1-1 correspondence with the coat collar—there is no allowance for turn of the cloth. Be sure to allow for this if you are using a beefy fabric.
  • I did not read the instructions, so I am not sure what kind of closure the pattern calls for. I closed the coat with a large snap.
A generous inside pocket

I cut the body of the coat from the seamed Pellon and began laying down the fabrics, starting with the cello (or is it a bass?) at the center back. The fabric had a nice selvedge, so I placed it 3" from the bottom of the Pellon, where the finished hemline would be. I filled in the gaps with the charcoal wool, using the selvedges wherever possible. Once the coat body was pieced, I ripped out the Pellon and discarded it.

Cutting the base layer from Pellon

Positioning the cello at center back

After the body of the coat was complete, I evaluated the remaining pieces of the coating. One remnant was woven with the words "Big Steve &". Who is "Big Steve", exactly? I googled but was unable to figure it out. Based on this coating, "Big Steve &" is a musical group that includes a cello (or is it a base?). I wanted to use the text "Big Steve" on the sleeve. Once the sleeves were completed, I had only tiny pieces left of the coating. I considered putting them on the facing, but decided it would be too busy, so the facings use only the textured grey wool.

The Big Steve Sleeve

As I mentioned, I closed the coat with a single large snap. I found a large pendant in the bead store in Ashland, and decided to use it on the coat. I attached a button-shank to the back of the pendant and sewed it to the coat as a non-functioning, decorative button.

2-1/4" pendant that I used as a decorative button

Finally, to create a better line, I inserted 1/2" shoulder pads.

And that's it! The coat pattern is a quick sew but, because collaging took time, and I included lots of handwork inside the coat, this was my only project of the retreat.

Worn closed

Worn open


Ashland DOL 2015

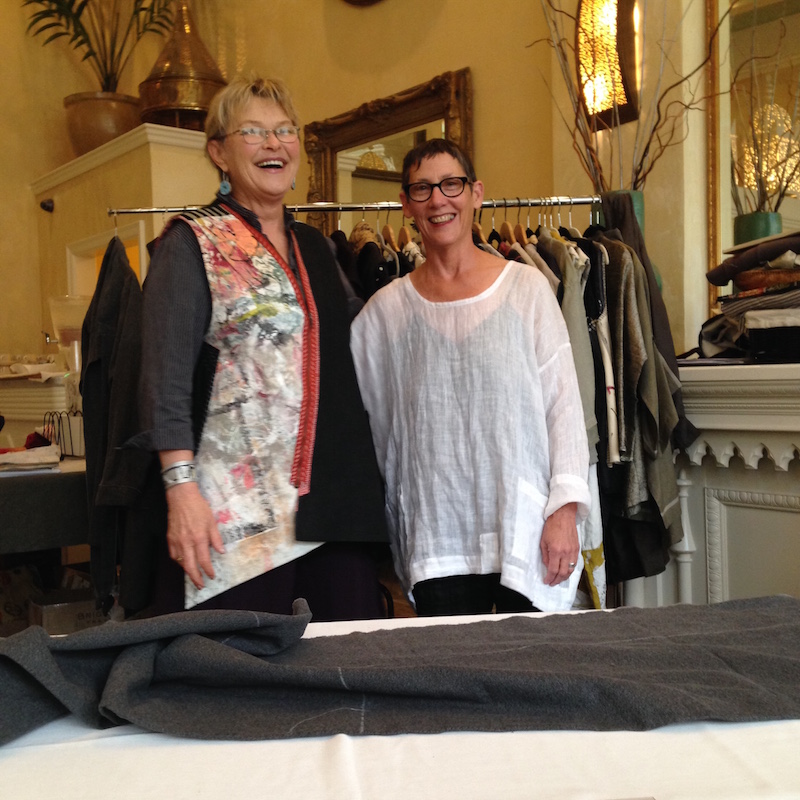
Diane Ericson and Carol Lee Shanks

You may recall that, almost exactly three years ago, I attended Taos DOL 2012. It was the last Taos DOL where Marcy Tilton and Diane Ericson taught together, and I was so glad to experience the team who originated DOL.

Opening circle with Marta, Diane, Cathy, and Gwen.
The retreat took place in the historic Ashland Springs Hotel.

After Marcy retired from DOL, it was hard to imagine who Diane would bring in as a replacement, but she had a brilliant idea: For each DOL, she invites a different fiber artist to join her as guest teacher. Her list of past and future guest teachers includes Nancy Shriber, Holly Badgley, Jilli Blackwood, and Karen Nicol. The guest teacher for this DOL (and also for last fall) was Carol Lee Shanks. Carol lives in the Bay Area and, while I had heard of her, we had never met. The theme for the retreat was "My Coat: Creating a Personal Shelter." Since coats are one of my favorite things to sew, and I'd heard great things about Carol as guest teacher, I signed up.

I'm so glad I did!

The general format of a full day at DOL is this: we ("we" being the 20 participants and "angel helper", Gwen Spencer) convene in our temporary studio in the hotel at 9am. Part of the room is set up for lecturing with a rack of clothing and a dress form that the teachers use for show and tell. Diane speaks for about an hour on a topic designed to inspire creativity. The guest teacher talks for about an hour on her process. We settle in to our sewing area and get working. Several times throughout the day, we reconvene for a quick talk or demo. Topics included a stenciling demo, and Diane's approach to refashioning. One day Diane's son, Miles Frode, came by to demo how he creates his painted and stenciled textiles. Diane had a number of his pieces for sale.
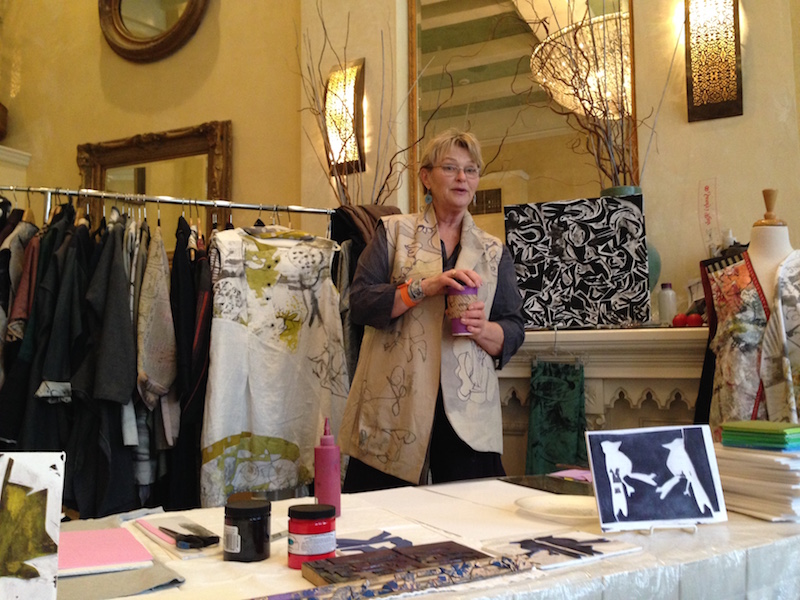
Diane talks about stenciling

Diane showing one of her patterns

Such beautiful bark-like back detail!

Carol is about to speak about her process

Carol, next to one of her pattern-less designs that makes beautiful use of selvedge

Carol showing us one of her designs that combines a stiff-ish fabric with a drapey fabric.

A better shot of the jacket, which includes a variety of textures

Another of Carol's pieces

Miles demonstrates his techniques

An entertaining mother-son duo

Carol's approach to design uses simple shapes—rectangles, triangles, circles—combined with her deep understanding of proportion. She walked us through how she works and showed us pieces made from the same fabric, using the same technique, but resulting in very different garments. This approach to design intrigued many at the retreat who used her technique to create beautiful (and very different) garments.

Diane's studio is several blocks from the hotel, and most of us walked over to visit at lunchtime. Diane shares her studio with Nuno felt artist, JoAnn Manzone. Some of her work is for sale in a corner of the studio, as well as Diane's patterns, books, cards, and supplies.

Diane in front of her studio

Inside the studio

Some of JoAnn's felted work for sale

I purchased two pieces of fabric from Diane:

Diane knows a woman in New Mexico who raises alpacas. She has their wool needle felted into gorgeous yardage. I am thinking of felting this fabric further, to make it more stable.

Miles free-hand painted this black stretch woven fabric with metallic paints

A few final pictures from my time in Ashland.

Across from our hotel were two, TWO, independent fabric stores! In the same block! Along the same street is a bead store, and a couple consignment stores. At the end of the street is a fabulous yarn store that also sells wearable art in the front.

Lobby of the Ashland Springs Hotel

Sandie, my sewing table neighbor. Sandie's talents extend to metal folding. She made the pendant she is wearing.

Sandie works on a collaged piece

Cathy from Montana

Jean Elaine

Marta, wearing one of Carol's vests

Diane, Grace, and Marta. Grace, my roomie, makes beautiful art quilts

JoAnn, wearing one of her gorgeous nuno felted creations

Carol, Victoria and Gwen

Marcie and Gwen

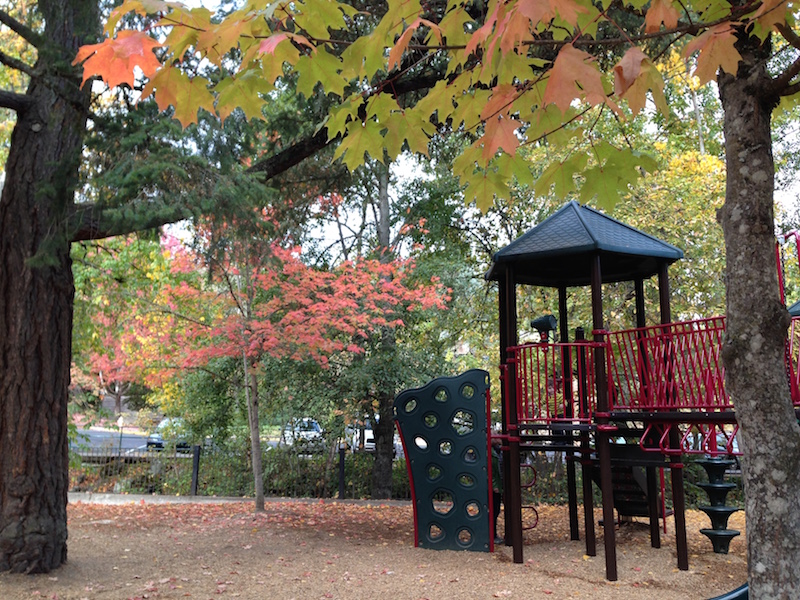
Ashland, and especially Lithia Park, was wonderful for this fall-foliage-deprived San Franciscan!

Lithia Park

Lithia

Playground at Lithia

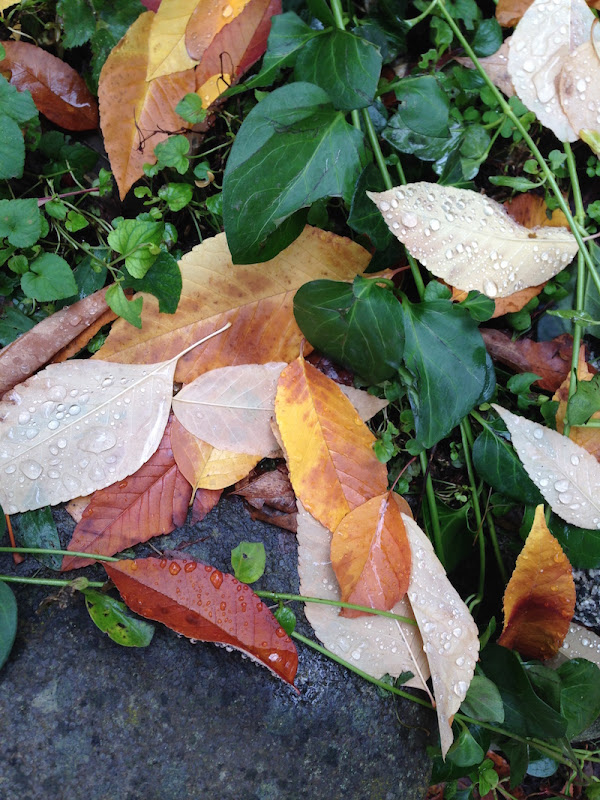
Leaves in Lithia

Walking to Nobel Coffee, one of the better coffee shops

In front of the Co-op grocery store, where I purchased many of my meals

This pic is getting me in the mood for Christmas!

Saturday, October 17, 2015

Purple Donuts


TOC:

Hello, everyone! I'm glad to catch up! I have been working on a coat, but it's taken me awhile.


Purple Donuts Coat

Two years ago, more or less, I made a coat that I have loved wearing. I call it a coat, but it's really more of a long cardigan and perfect for San Francisco weather. I used a downloadable Burda pattern that is super simple. In fact, it consists of 4 pattern pieces: front, back, and a 2-piece sleeve. Five pieces, if you count the pocket bag. This pattern has no facings or lining.

Recently, Marcy Tilton posted a gorgeous fabric on her site. She also posted the fabric on her Facebook page, and I gave my credit card whiplash running over to buy it.

Margy dubbed it "purple donuts" as in, "How is purple donuts coming?" But the donuts are magenta in real life

The fabric arrived, and it was still hot weather, but I decided I had to make it up right away. You know how THAT is, right?

The fabric is a wool sweater knit. The background, which I thought was black when I ordered it, is actually a dark navy and has a felted texture to it. The "purple donuts", which are actually magenta, are made from fur, so the fabric has a very definite nap.

When cut, the fur created fluff as fur does when one cuts it, but I didn't treat it in any special way. I would have used fur-sewing techniques if it was an overall-furry fabric. The fabric was very easy to sew.

When I made this coat last time, I added curved welt pockets, but I didn't want to put a welt through the fur, so I used side seam pockets. I don't really like side seam pockets, as a rule. They can add bulk and flop around. So, instead of cutting two pocket bag pieces for each pocket, I cut only one. I sewed one pocket bag to the back at each side seam. I sewed the rest of the side seam on the machine, and then I sewed the pocket bag to the front along the pocket edge. This creates a flat pocket that doesn't flop around. Because I didn't want to topstitch through the furry fabric, and the background fabric has a nice loft to it, I stitched around the edge of the pocket by hand, using a satin-stitch. This took some time and a lot of thread, but I love the flat, hidden pockets that resulted.
I used a remnant of black ponte for the pocket bag. You can see the contrast of the black pocket against the navy backing.

The fabric doesn't actually need a seam finish, as the sweater knit doesn't ravel, but I wanted to do something to the raw edges. I didn't want to use a Hong Kong finish, which would have been lumpy with the furry bits, so I opened each seam and whipstitched it, by hand, to the coat backing, resulting in seams that lay flat. You can probably see this in the last pic. Luckily, I like handwork.

Something Marcy didn't mention when selling this fabric, is the wonderful selvedge. The entire selvedge edge, on both sides, is finished with a strip of fur. I immediately decided to cut the coat fronts with the fur along the front edge.

My final design decision was how to handle the neckline edge. When I made this coat last time, I used a binding along the neck and front edges. But this time, I decided to finish the neckline with a strip of fur selvedge. This had the advantage of stabilizing the neck, as the selvedge has no stretch. (The stretch in this fabric goes from selvedge to selvedge, and not down the length of the fabric.)

Hand sewing the fur selvedge to the neck edge

When I made this coat before, I closed it with a toggle-style closure and snaps. I wanted to do that again, so I wore the coat to Britex in search of a navy toggle closure. They had one, and only one, navy toggle closure. It's made from felt—the "button" portion was created from rolling up from a little felt rectangle, so this closure would be easy to replicate at home.

Closeup of felt toggle

Other than the toggle, the double breasted coat closes with a snap at the top of each corner. If the black snaps had bothered me, I would have covered them, but they didn't bother me.

Closeup of the snaps and fabric selvedge

Worn closed

Worn open

When I wore the coat to work and then to Britex, and also to an Asiatica trunk sale (drool), lots of people wanted to pet me. ;)


Artistry in Fashion

With Ronda Chaney, head of the Fashion Dept at Cañada College, wearing a Sewing Workshop Bristol top

Artistry in Fashion was three weeks ago and it was great! Margy drove up from southern California (a 4-hour drive), and it was so nice to hang with her! Other friends were there, and I met new folks.

I met lovely Joan, from Chico. She is wearing Sandra Betzina's tunic, V1456, made from a striking Marcy Tilton fabric. I love her matching shoes!

I enjoyed chatting with Linda Lee and her helper, Ann, for whom one of her patterns was named. I watched her fashion show, which featured a bounty of garments made from Sewing Workshop patterns.

I always love the Designer Showcase—a mini fashion show organized by a local stylist featuring garments and accessories from the vendors. In fact, three friends you might recognize modeled in the Designer Showcase. Here they are, right after, still wearing their modeling duds: Dorothy K, Ann Smith, and Barbara V!

Ann later bought the jacket and necklaces that she modeled.

After they changed back to their own clothing, I took another pic. (It was a *very* warm day, as it can be in late September.)

In honor of Linda Lee, all three are wearing at least one garment made from a Sewing Workshop pattern

We corralled Margy, wearing another gorgeously composed outfit, into the photo.

Jillian was there! (And she's just returned to blogging!)

Margy and Jillian

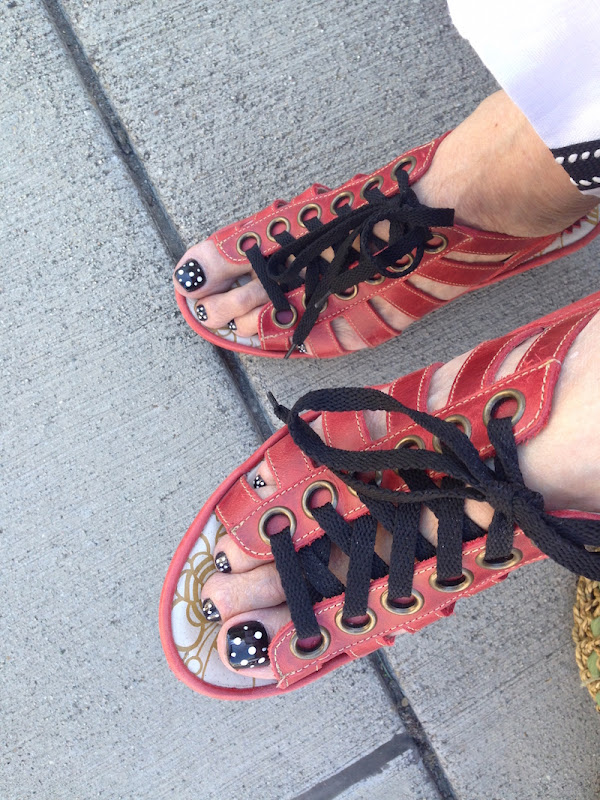
Margy's toesies!

Other that the people, my favorite part of AIF is the shopping! This year did not disappoint! I don't have photos of everything I purchased, but my favorite is this necklace.

Necklace by Eccentric Design

This necklace was worn in the Designer Showcase and I got a chance to study it up close afterwards. It didn't take me long to decide to buy it. It was Eccentric Designs first year at AIF and, I hope, not their last. The tiny photos on this necklace were taken of grates in San Francisco. On a visit to San Francisco, the artist's daughter took photos of metal grates, while she collected what she calls "garbage" off the street. The artist then composed a San Francisco-inspired necklace using the photos and the found items. So delightful—I love love love it!

I also bought this quirky fleece hat, from the same vendor where Margy bought her "deodorant balls" necklace.

Felt hat

I bought these earrings and a necklace (not pictured) from MariRose. She was my favorite new vendor last year and uses lots of rubber in her jewelry.

Earrings by MariRose

I bought two other necklaces that I haven't photographed, so this was a bounty AIF, accessory-wise!


Knitted Cowl

Some months ago, I came across Anne Whalley, Image Consultant, on Instagram. Based in Australia, she sews most of her own clothing. She often wears a knitted cowl that I really like and I saw, from one of her IG posts, that her cowl was made by an artist, Alfia, of Alfia's Designs.

I contacted Alfia and asked if I could order one of her knitted cowls. It wasn't a good time for her, as she was busy moving across the world (from Australia to Russia), so I told her I could wait. Her life finally settled down and she sent me my lovely cowl!

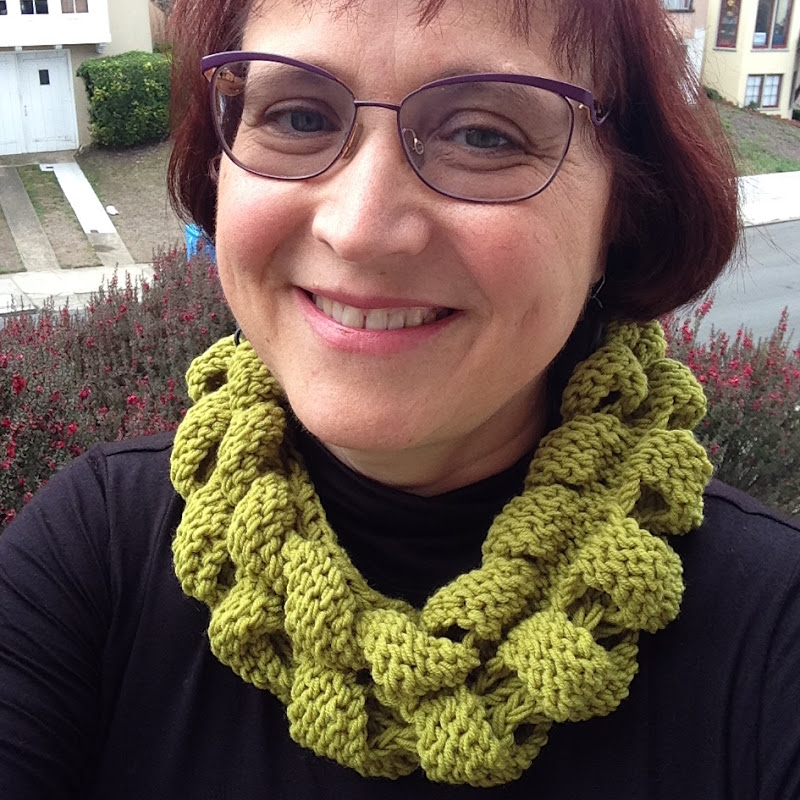
Thanks, Alfia! I love it!


Misc

My life has been fairly busy lately. Work has been taking a lot of my energy and attention. I also purchased an InstantPot, which is an electronic pressure cooker, which also sautées, slow cooks, and makes yoghurt. I've been really enjoying playing with that; I am making lots of fall soups and stews.

Sweet Potato and Split Pea Soup

And, even more exciting, I am leaving soon for a week-long Design Outside the Lines retreat with Diane Ericson and Carol Lee Shanks. The theme for this retreat is coat-making, so I pulled a few fabrics:

Ahem

Have a great weekend!