Thursday, April 14, 2011

Eastward Ho!

A requisite picture of a covered bridge in Lancaster county. I love covered bridges.

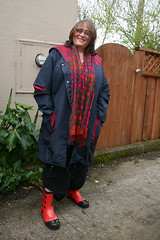
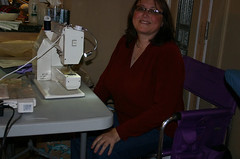
The internet is such a great way to meet and bond with folks who have the same interests as yours. Take sewing, for instance.

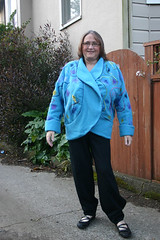
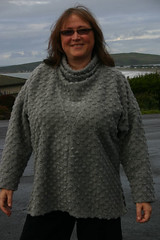
Peggy is a great example of someone I bonded with over our mutual appreciation of Issey Miyake, Au Bonheur patterns, and funky sewing, in general. (In fact, I bought Peggy her first ABdpM pattern as a thank you for a generosity she showed me.)

One of my favorite online sites to order fabric from is FabricMart. <sigh> FabricMart...

Oops, excuse me. :)

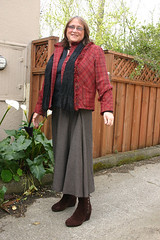
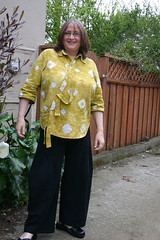
Anyway, Peggy invited me to visit and promised a road trip that would include stops at FabricMart, Michael's (their brick and mortar is called A Fabric Place), G-Street Fabrics, and JoMar. To name a few.

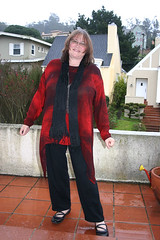
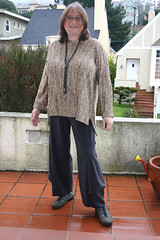
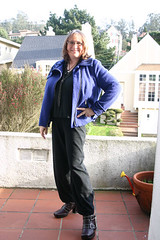
I simply could not resist such a gracious and enticing offer. Carolyn and I frequently argue over who loves FabricMart more, so I invited her to join us. And because I knew that Noile might be willing to drive the distance, I invited her too. Suddenly, we had a party. :)

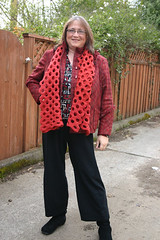
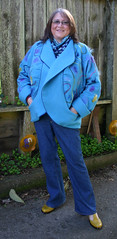
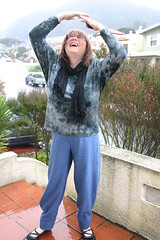
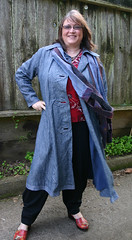
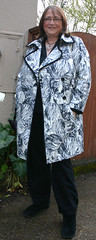
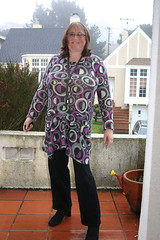
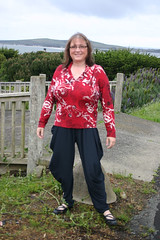
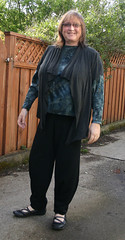
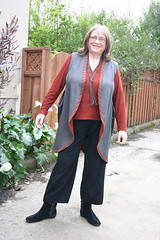
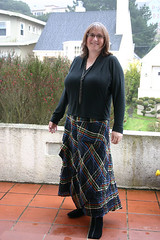
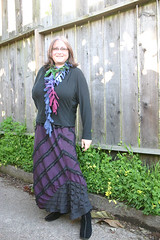
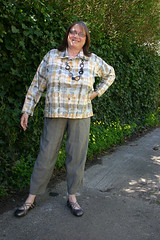
Carolyn, Peggy and me

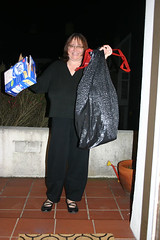
I brought some See's candy from the west coast.

Candy Carnage.


I highly recommend blogger meet-ups. They are just too much fun. The east coast bloggers seem to know everyone, while us west coast bloggers seem to be further apart and newer to the blogging scene.

I will post more later, though I'm not sure I can wait for the packages to arrive with the fabrics I ordered and to show off the fabric porn (as Carolyn calls it).

The yummy yummy fabrics. :)

SFO Airport Dresses

Like so many airports these days, San Francisco Airport displays artwork along its walkways. Therefore, unless you fly, you will miss the exhibits, as they are behind the security checkpoint. I was in SFO about a week ago and I spied a display with these dresses, which required a closer inspection.

In case you can't see, they are made from Mary Jane and Tootsie Pop wrappers, respectively. Too cute. I have never heard of Mary Jane candy and, in fact, Mary Jane has a somewhat different connotation for me. :)

While I was snapping photos a man came up and also took photos, explaining that he works in the LA garment district. He escaped into the United Red Carpet club before I could strike up a chat with him.

Why was I in the airport? Well, I was taking a rare flight. A fiber-related trip. More later. :)

Sunday, April 3, 2011

Vogue 1248 - AKO Skirt

The summer Vogues came out last week and my order arrived a few days ago (thanks to the BMV sale). One of the patterns I purchased was this AKO ensemble. I just love this skirt, especially the giant draped pockets and the shirt cuffs on the ends of the giant bow. As designed, it would look best on the tiny waisted, but I made a few modifications so that it would work for me. Unfortunately, I could not see a feasible way to preserve the shirt cuff ties for my version, but that's ok.

Materials:

  • Dark Navy Vera Wang Triacetate/Cupro Rayon Crepe from FabricMart. This fabric is basically a rayon crepe. It ravels like crazy and is extremely slippery but has a very nice drape, which is what I wanted for the pockets. It is such a dark navy that I thought it was black until well into the project. It came out nicely after throwing it into the washer and dryer. I used self fabric for the lining.
  • 1.5" waistband elastic from Pamela's Patterns.

Alterations and Modifications:

  • I eliminated the waist yoke with the ties.
  • I eliminated the zipper and used an elastic waistband.
  • You'll notice that the skirt gathers into the yoke. I did not want the skirt to be overly gathered at the waist. I bought the pattern in the multi-size grouping of 12-18. After measuring the skirt, I decided to cut out the size 12. The size 18 was approx 74" at the top (where it is supposed to be gathered into the yoke) and the size 12 was approx 62". Even that was too large, so I removed 5" from the front and 5" from the back pieces, so the resulting skirt was approx 42" at the top.
  • I cut the CF on the fold.
  • The skirt does need a lining, especially to support the heavy pockets, but I did not use the lining pattern pieces that were provided. I ripped a rectangle of self fabric to fit the skirt opening and a bit shorter than the skirt. I sewed/serged the side seam and inserted it into the skirt opening.
  • I sewed this skirt on a conventional machine, but made heavy use of the serger to deal with the raveling.

I like this skirt! A lot! I do wish it were a couple inches longer. The fabric is great, in terms of drape, as annoying it was to sew. But I still don't see where the shirt cuffs could have been added... I guess I need to think harder. :)

Flying Squirrel Pose

Saturday, April 2, 2011

Sewing Workshop - Striped Liberty Pullover

With cowl

Without cowl

I still have yet to make the Liberty as intended with the button closure, but a little over a year ago, I was inspired by Heather, who had the idea of converting the button-down Liberty to a pullover. It's basically a wonderfully funky t-shirt.

I had this grey/black ponte which is similar to Heather's luxury wool knit, and I cut it out a year ago and it sat. And sat. I don't know why I took so long to sew it up, because it's such a quick project.

Materials:

  • Black/grey stripe ponte from FabricMart.

Alterations and Construction Notes:

  • I used the same tracing for my last version of the top, which is a Large with an FBA. I converted the FBA to gathers at bust level. I usually ease the dart in a knit, but this knit is fairly stable, so I used gathers. I prefer it with an eased seam. :)
  • The sleeves were too long in my last version, so this time I shortened the sleeves by 1". Then before attaching the sleeves, I shortened the shoulder by 1", tapered to nothing. Suddenly, the sleeves were 1" too short. (Rookie mistake.) Luckily the sleeve hem is very wide, so I was able to lengthen the sleeves by 1". (Note to self, I think I could shorten the shoulders another 1" next time.)
  • I cut the neckline to be a bit wider. I finished the round neckline using a technique I had seen on a Marcy Tilton top.

    Completed neckline

    • I cut a 1.5" bias strip (so the stripes are on the diagonal).
    • I folded it in half and pressed it.
    • I then laid it against the neckline so that all 3 raw edges were even. I topstitched 1/8" from the folded edge of the bias strip, pulling slightly as I rounded the curves. (I could have pulled a bit more.)

      The three raw edges

  • I made a separate cowl.
  • I cut another bias rectangle, approx 12" wide and fairly long. (I didn't measure it.)
  • After playing with it for awhile, I decided to sew the short edges together so that the cowl was a slight funnel shape - it narrowed closer to the head.

    The pins indicate where I sewed the side seam. The narrowest point is the top of the cowl after it has been folded in half the long way.

  • I folded the tube in half to encase the wrong side.
  • There was a "point" where the seam met up, so I rounded the edges.
  • I turned the raw edges to the inside and topstitched around the donut shape.

    The finished cowl. Yeah, it's a bit different. ;)

The next time I make this pattern, I want to make a fresh tracing and do my "new style" of FBA. This is where I chop the pattern at the waist (or thereabouts) and do the FBA on the upper half. I then merge the pieces back together. I've been using this now for several garments and I LOVE it as it preserves the design on the lower half.

Friday, April 1, 2011

Me-Made-March '11 - Wrap Up

A visual summary of Me-Made-March.

IMG_8897_smallerIMG_8906_smallerIMG_8912_smallerIMG_8914_smallerIMG_8922_smallerIMG_8958_smallerIMG_8998_smallerIMG_9012_smallerIMG_9025_smallerIMG_9028_smallerIMG_9036_smallerIMG_9039_smallrIMG_9052_smallerIMG_9054_smallerIMG_9063_smallerIMG_9067_smallerIMG_9070_smallerIMG_9076_smallerIMG_9078_smallerIMG_9085_smallerIMG_9105_smallerIMG_9108_smallerIMG_9109_smaller2IMG_9122_smallerIMG_9144_smallerIMG_9156_smallerIMG_9160_smallerIMG_9166_smallerIMG_9174_smallerIMG_9187_smaller

I'm still absorbing the results, but I guess I have some early thoughts:

  • I have made quite a variety of clothing.
  • I am improving at styling. I am trying to get better at accessorizing.
  • I am getting better at creating more flattering proportions.
  • I need more jackets. :)
  • I have more work to do!

I don't know how the style blog do a daily picture and post. It's exhausting!

Feel free to post your thoughts. :)

Links: